Learn new crochet tricks while making
beautiful crafts you can't wait to show off!
How to Join Granny Squares With One Long Continuous Row
Do you ever get done with making all the granny squares for a project, and then suddenly dread putting them together? Joining squares with slip stitches or (ack!) sewing with a yarn needle can be slow and tedious. While those methods are sometimes necessary or fit the pattern, there is often an easier way.
One easier way is called join-as-you go, where you join each granny square to the rest of the project in the final row of the square with slip stitches. Taking it further, the continuous join-as-you-go method has you joining the final rows of all the squares in one long continuous row.
Some of the benefits of the continuous join-as-you-go method are:
- It’s faster. It’s just a few extra slip stitches in each granny square to join a whole project.
- Fewer ends. One long joining row means only 2 ends to sew in.
Continuous join-as-you-go works best when:
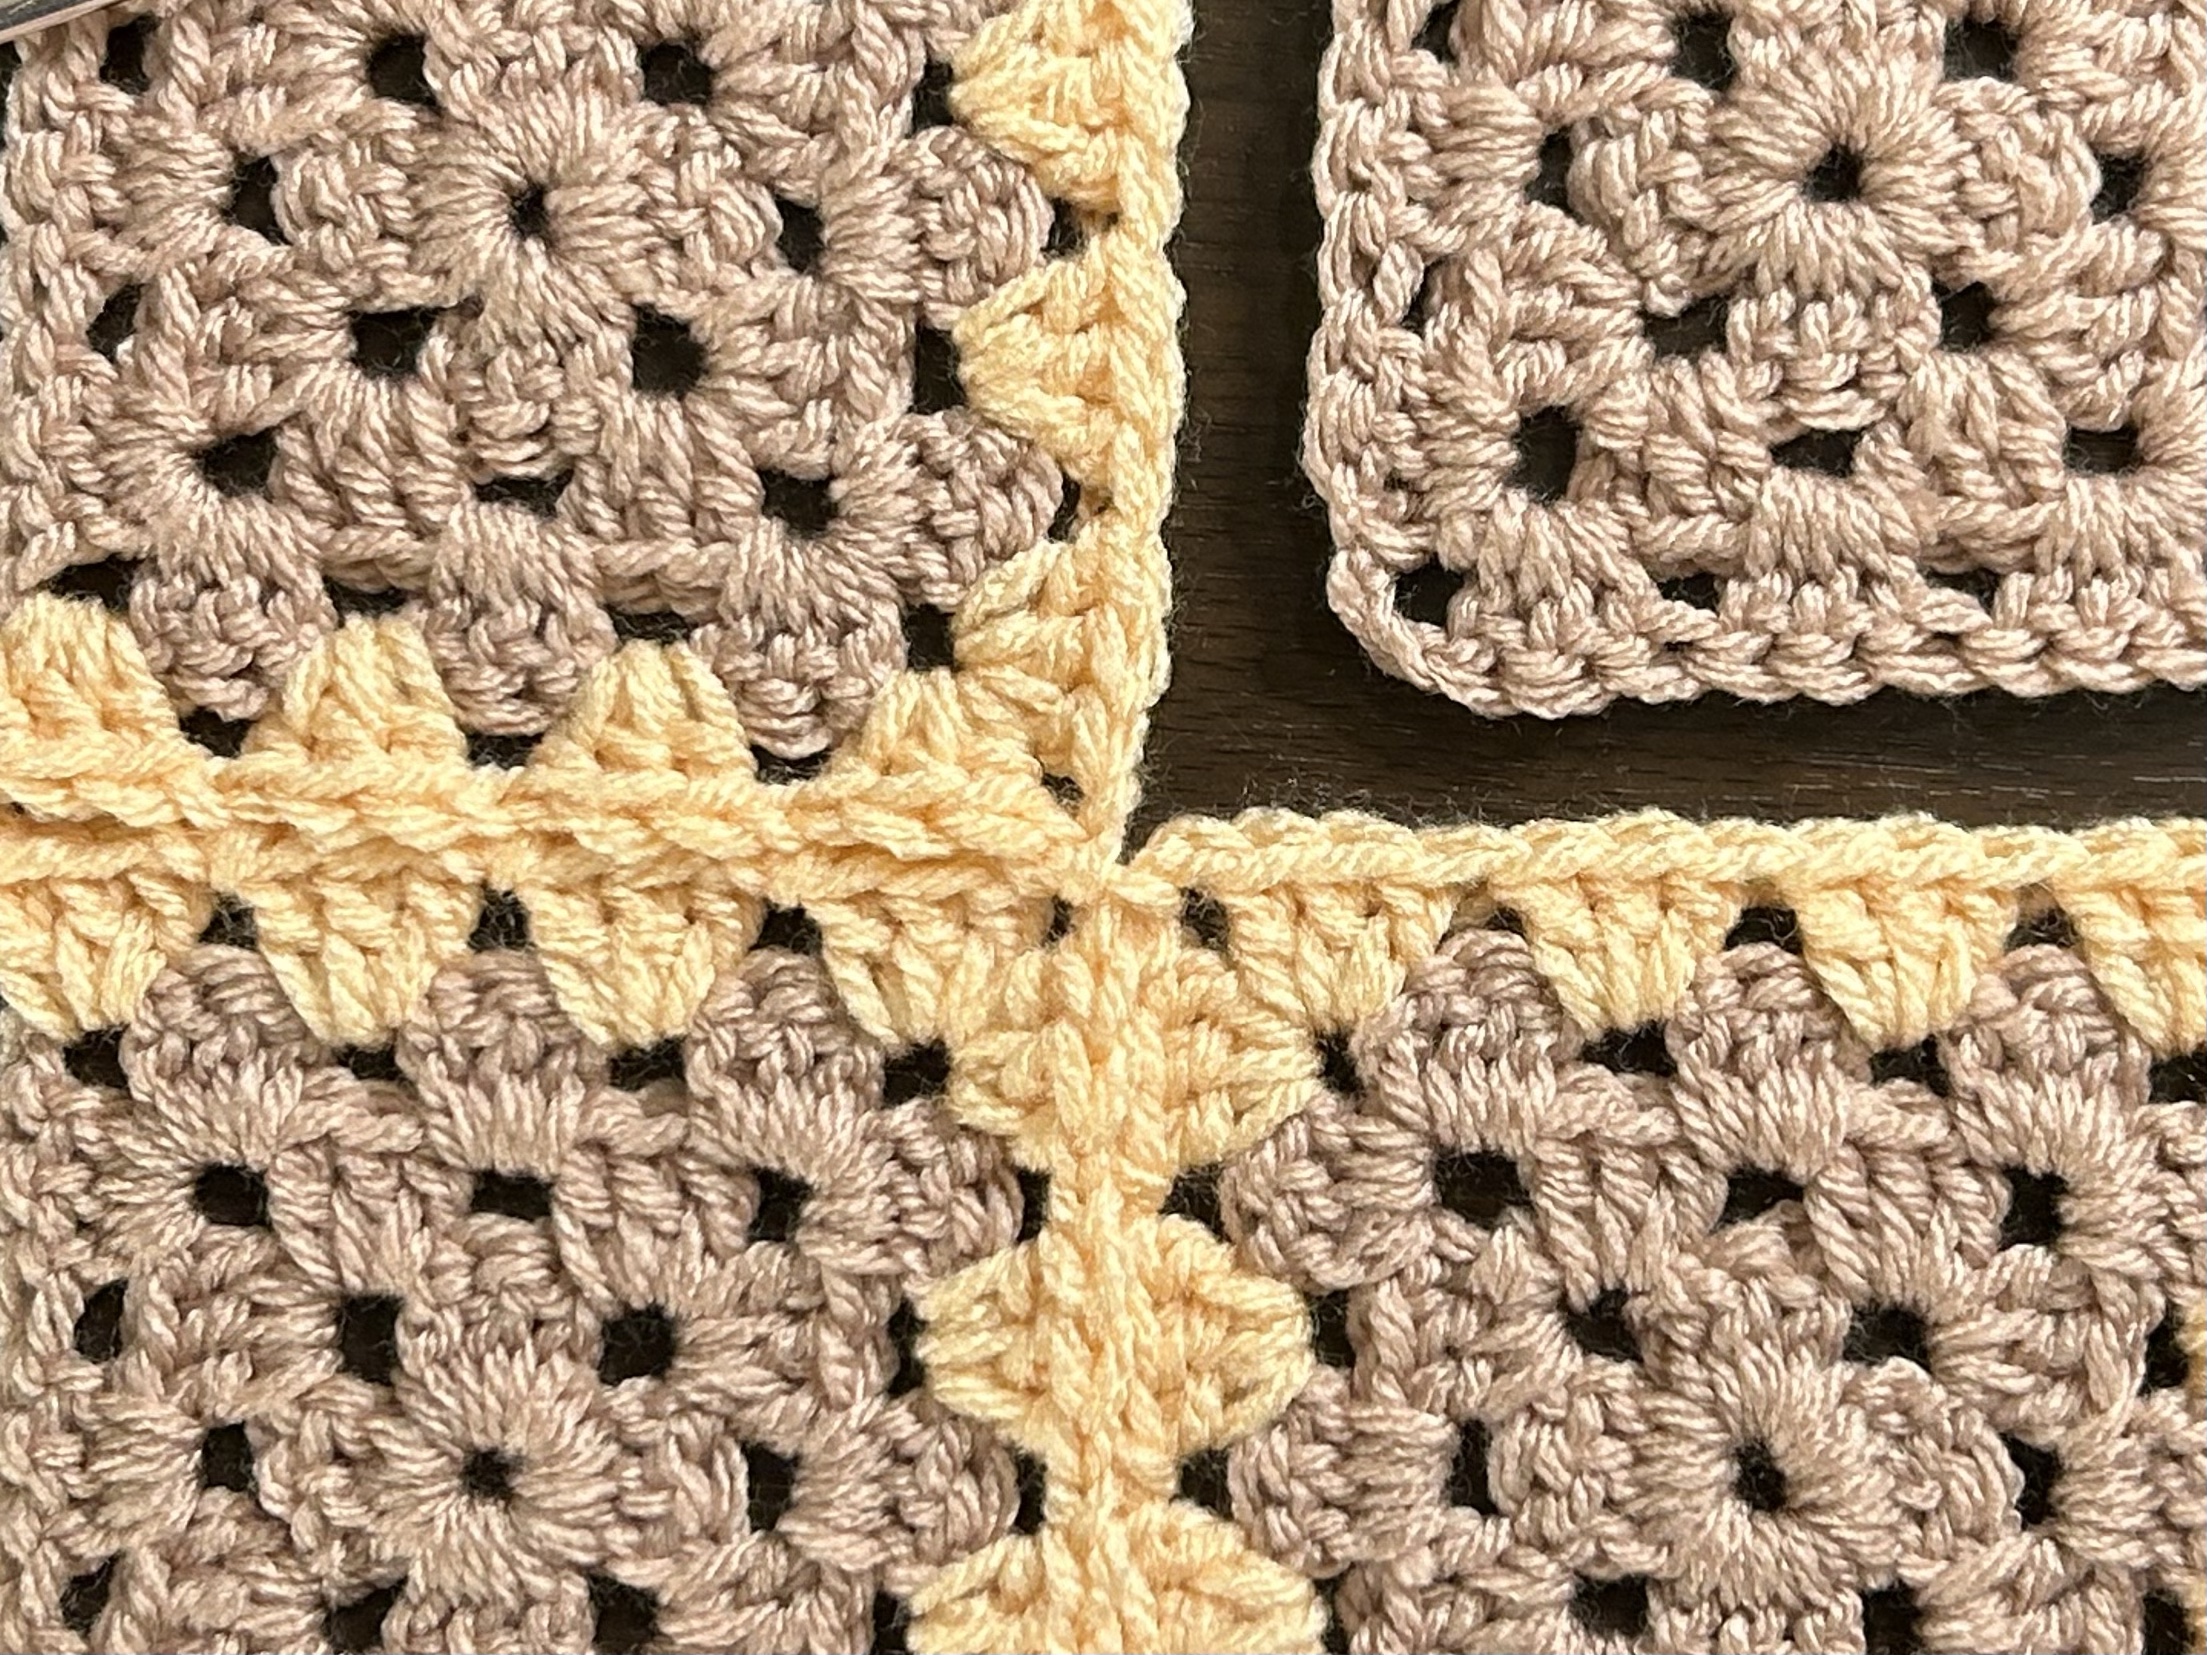
- The pattern is a standard granny square with clusters of 3 double crochets separated by spaces. The joining slip stitches happen between clusters, so it won’t work for solid granny squares without spaces.
- The final row of the squares is all the same color.
- The final row of the squares is a different color from the previous row. (If it’s the same, there’s no sense cutting the yarn and then doing continuous join. Just do the regular join-as-you-go method one square at a time.
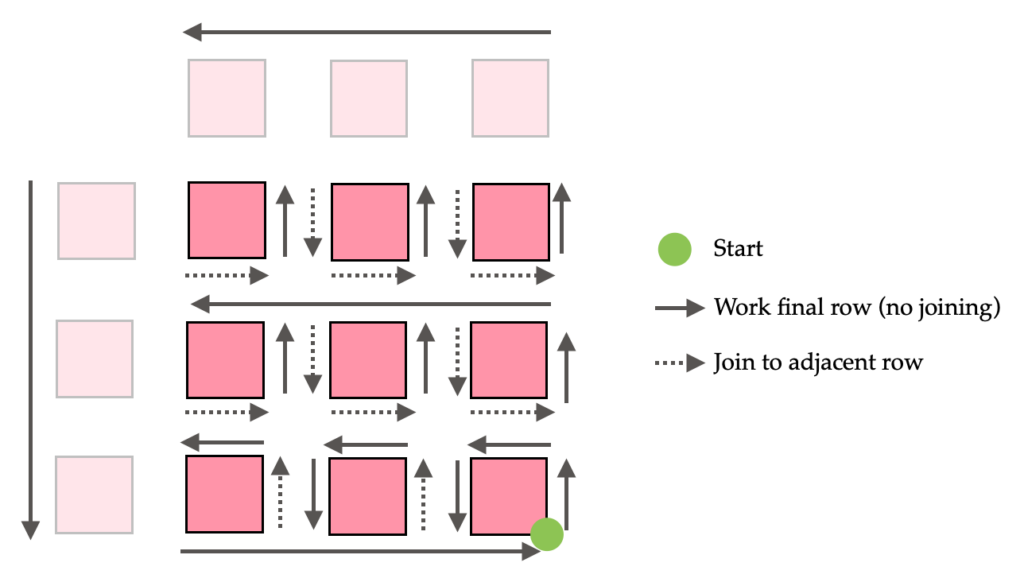
For the continuous join-as-you-go method, chart a path around the squares so that one long row will reach all sides of every square, like this:
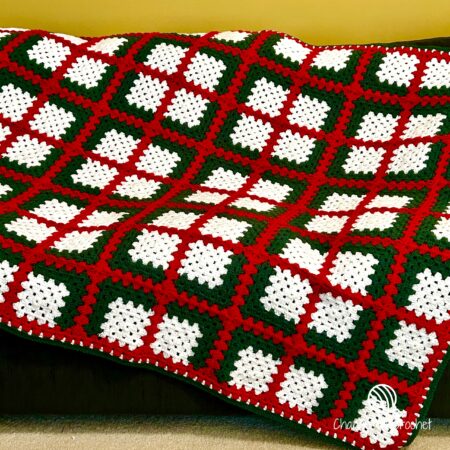
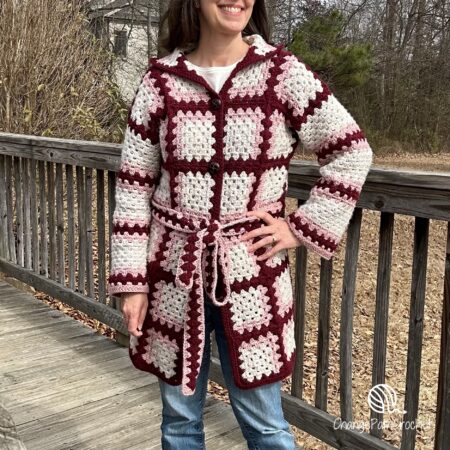
Put this technique into practice with these patterns:
In this video, I’ll show you how to connect granny squares with the continuous join as you go method.

Dear Heather,
What an interesting technique!
I have a ‘but’ though- won’t you end up with holes between all those slip stitches? Or have I missed something? I guess it doesn’t matter that much, just a matter of preference in terms of a desired finish.
Thank you!
Great question! Yes, there is a space between the slip stitches, in between the squares. The slip stitches are close enough that they hold the pieces taut together, and it doesn’t look like big holes. Give it a try and let me know what you think!
Thank you for that tutorial. This method really does bring the squares together nicely, and you’ve made it look so easy.