Learn new crochet tricks while making
beautiful crafts you can't wait to show off!
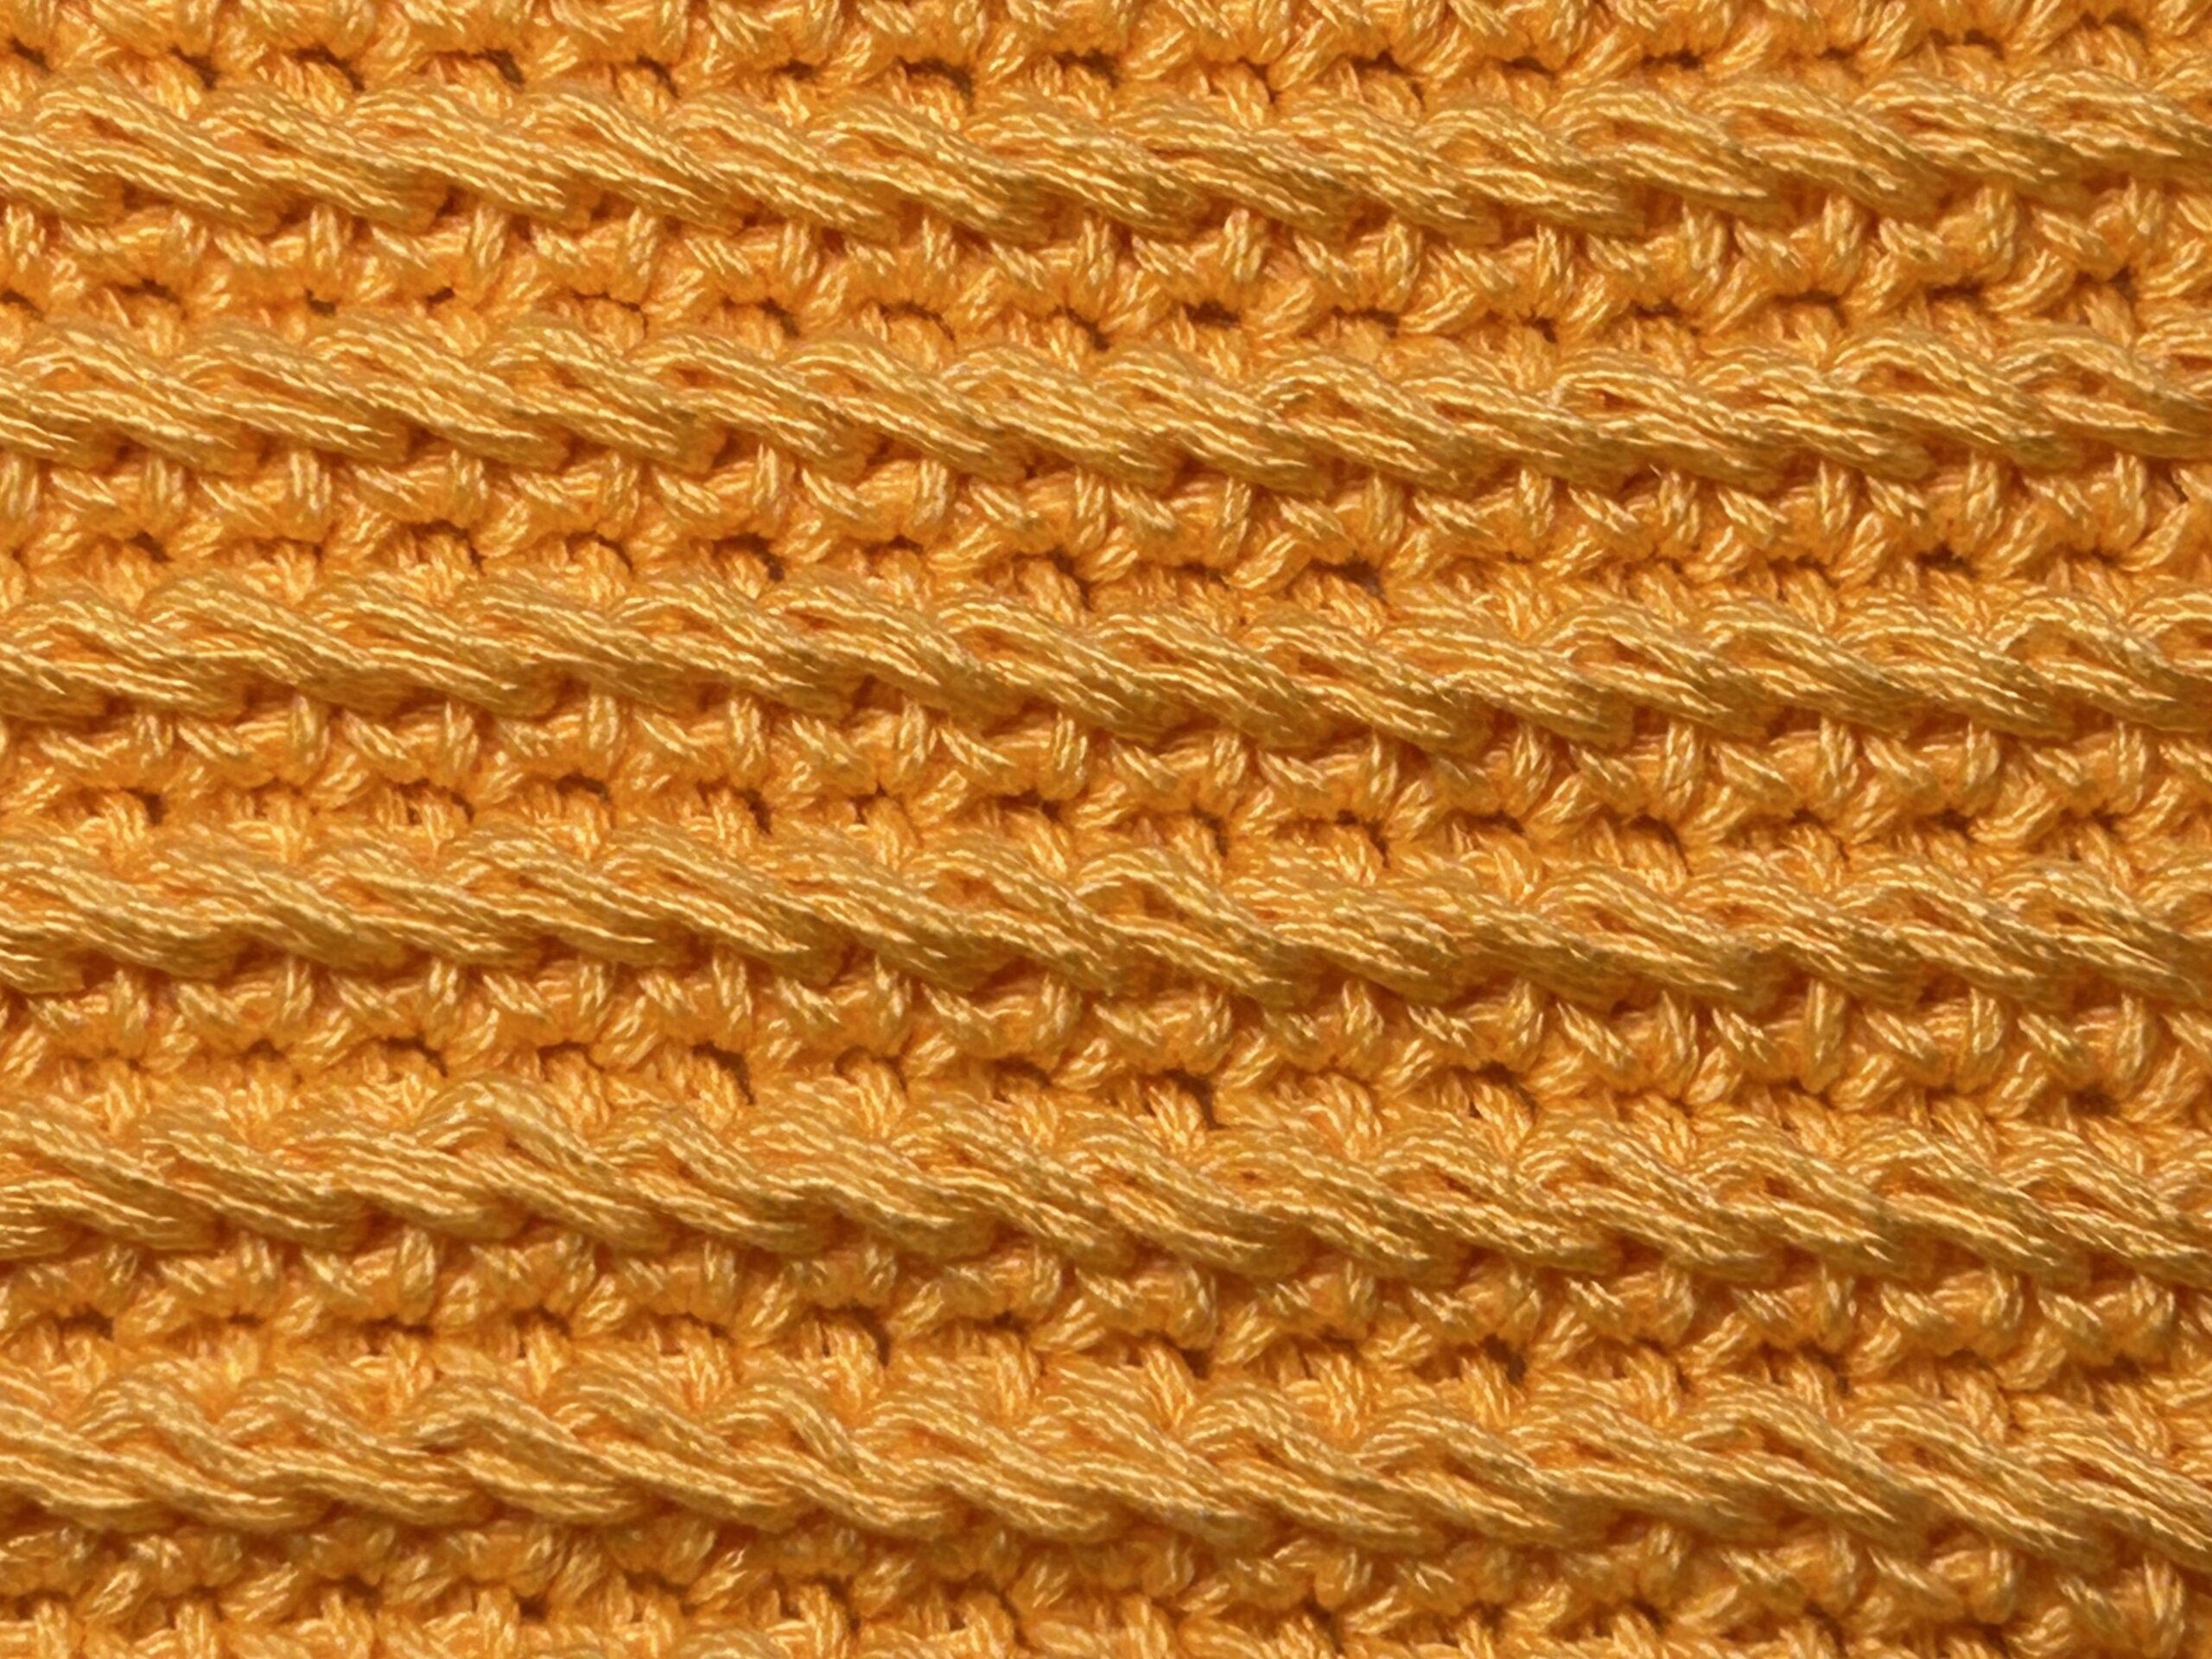
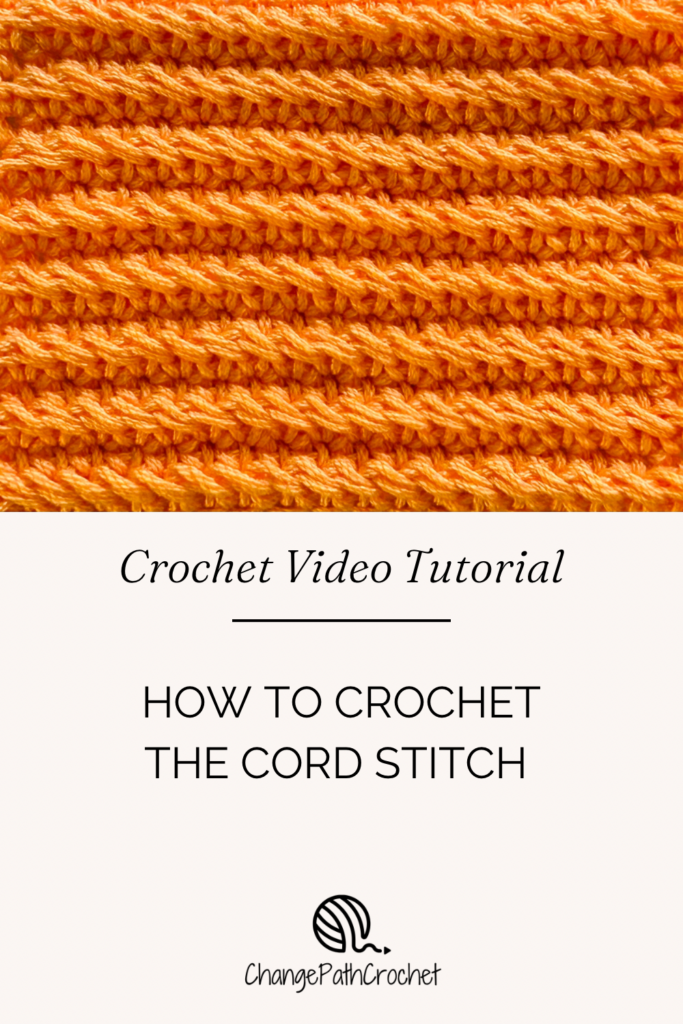
How to Crochet the Cord Stitch
I was playing around with yarn one day, looking for a way to make a raised ridge texture that was more interesting than the Ridge Stitch (single crochet in the back loop only). And then I found it — A stitch that looks like you’ve sewn a braided cord right on the front of your stitches!
I call it, unsurprisingly, the Cord Stitch.
The Cord Stitch is a 2-row repeat, in which the first row creates the cord effect, and the second row emphasizes it.
Here’s the pattern (US terminology: sc = single crochet, ch = chain, st = stitch):
- Chain as many stitches as you want, plus 1 turning ch.
- Row 1: First stitch: Make a sc. Then, with the first loop still on the hook, insert the hook back through the top loop, and pull another loop through, so there are 2 loops on the hook. After the 1st stitch: Insert the hook into the next st and pull up a loop. YO and pull through all 3 loops on the hook. Then, with the first loop still on the hook, insert the hook back through the top 2 loops, and pull another loop through, so there are 2 loops on the hook.
- Row 2: Ch 1, turn. Sc in the back loops only (there are 2 back loops) of each stitch across.
Watch this video to learn how to crochet the cord stitch:
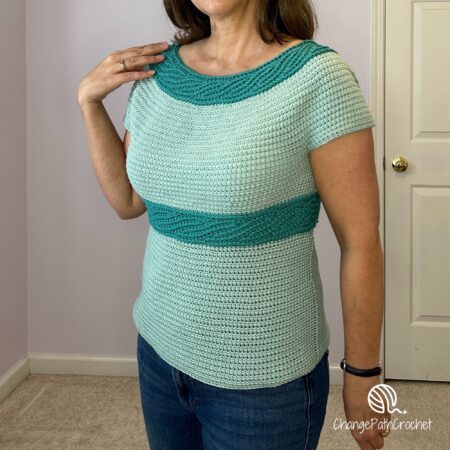
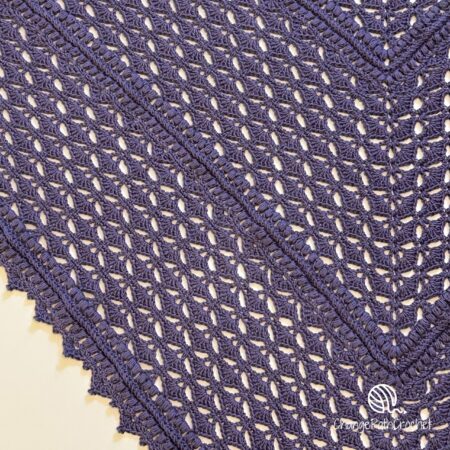
Put this stitch into practice with these patterns: