Learn new crochet tricks while making
beautiful crafts you can't wait to show off!

The Secret to Making a Flat Circle with Single Crochet
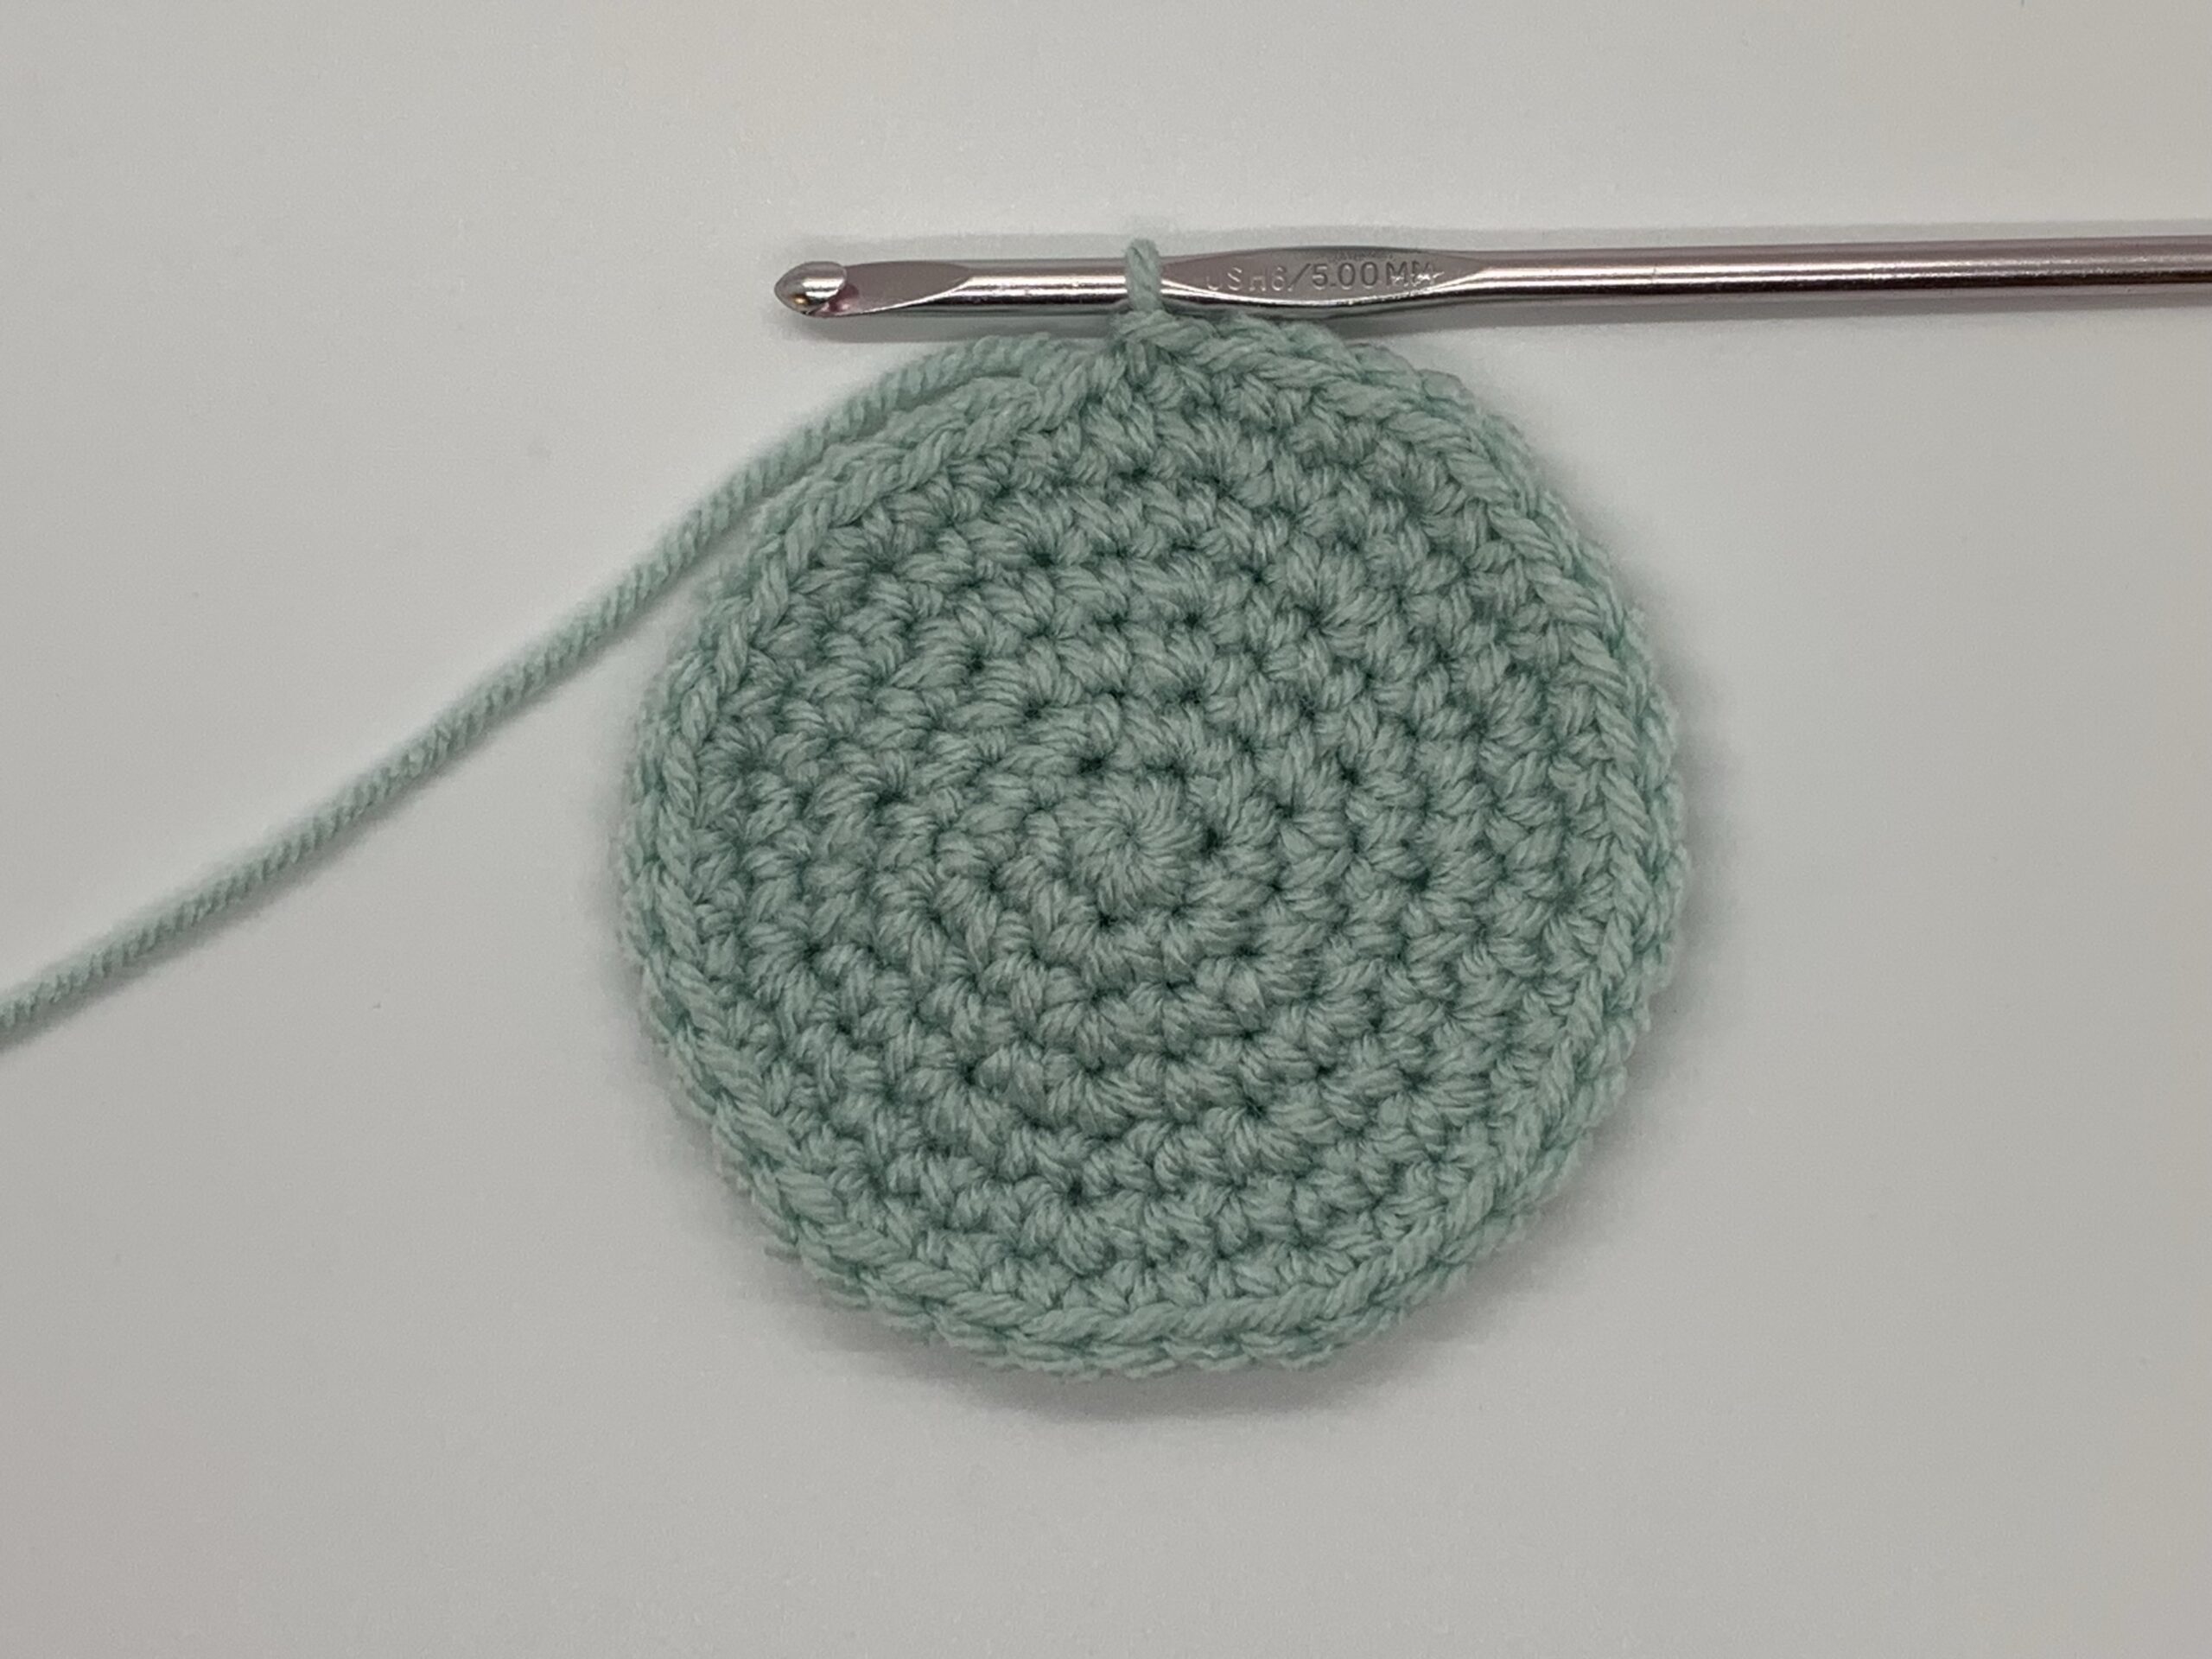
Did you know you can single crochet in a circle, just by increasing six stitches per row? Like a lot of crochet, it’s all about geometry.
The geometry of circles is such that the circumference (the outer edge) of the circle is 2 x Pi x the radius (the distance from the center to the outer edge). Since Pi is 3.14, then the outer edge of the circle is 6.28 x the radius. That means that for each amount the radius increases, the outer edge increases by 6.28 times that amount. Since a single crochet stitch has approximately the same height and width, then increasing the radius by 1 sc means increasing the circumference by ~6 sc. So even if you make a really large circle with hundreds of stitches per row, you still only need to increase by 6 stitches to maintain the flat circle. Math is cool!
So how do you actually crochet the circle? First, start with either ch-2 or a magic circle, and do 6 single crochet (sc) stitches in the center. Instead of joining to the first stitch, just continue around, crocheting 2 sc in the first sc and in every stitch around. In the 3rd row, you repeat (1 sc, 2 sc) 6 times around. In the 4th row, you repeat (1 sc, 1 sc, 2 sc) 6 times around.
You can continue with this pattern, adding one more stitch between increases in each row, but you will get a hexagon instead of a circle. Your increases will always be in the same spot, which creates corners. To avoid this, stagger your increases, so in each row the increase comes in the middle of the increases from the previous row. (If you’re making a really large circle, you may want to stagger increases even more to avoid making a dodecagon – a 12-sided polygon.) Once you get past Row 5, start to stagger the increases in the rows with even numbers of stitches between increases. Start and end those rows with half the number of sc’s between increases.
Pattern:
Abbreviations: Sc = single crochet; St = stitch; Inc = increase, or 2 sc in the same stitch.
Rnd 1: 6 sc in magic circle. (6 st)
Rnd 2: Inc x 6. (12 st)
Rnd 3: * sc in next st, inc * x 6. (18)
Rnd 4: * sc in next 2 st, inc * x 6. (24)
Rnd 5: * sc in next 3 st, inc * x 6. (30)
Rnd 6: Sc in the next 2 st. Inc. * Sc in next 4 st, inc * x 5. Sc in the next 2 st. (36)
Rnd 7: * sc in next 5 st, inc * x 6. (42)
Rnd 8: Sc in the next 3 st. Inc. * Sc in next 6 st, inc * x 5. Sc in the next 3 st. (48)
Continue in this manner, with the odd rows having the standard increase pattern, and the even rows having the staggered pattern.
I explain all this, and nerd out a little bit about the math of making circles, in this video. You’ll also get a demo of making a magic circle (or magic ring) to close your starting gap.
Watch this video to learn how to make a perfect flat circle with single crochet:
Note: The 6-to-1 ratio may not work for everyone.
If your circle is curling up, you need more stitches, but probably not too many. Remember, it only takes 6 increase stitches per row to make a circle.You may only need to add 1 extra increase stitch every few rows to keep it from curling. Stagger the extra increase around the circle so it doesn’t create a bump.
If your circle is getting wavy, you need fewer stitches. Try skipping one of the increases every few rows to see if it will lay flat. Remember to alternate where you skip the increase so your circle doesn’t get lopsided.
Any other questions or issues with crocheting a circle? Please ask in the comments below.

Great video. Loved the “math” explanation of 6 stitch increase.
I have always chained 1 before starting my next SC row. Is this necessary?
Thank you!
Cheryl
Thanks! The chain-1 is only necessary if you join the end of the row to the beginning with a slip stitch. If you make continuous rows, you do not need to do the chain-1. You just keep crocheting in a continuous spiral.
This was an awesome tip. Thank you. Will this work with multiples of 8 following the same sequence?
Yes, you can start with 8 and increase by 8 in each row following the same pattern. It may end up wavy if 8 is too many for your tension.